

I really like the papercut effect of the font Monogram Daishy. In order to create an actual papercut monogram with my ScanNCut I would need to convert the font from OTF/TTF formats to a compatible format. The FCM format is specifically for the ScanNCut. The SVG format will work with most electronic cutting machines including the ScanNCut.
Converting fonts for the ScanNCut
Simply using the text tool in Canvas Workspace doesn't always work. With more complicated or intricate designs the cut lines can end up crooked and jumbled and would absolutely not work as a cut file.
 |
| Monogram Daishy Font in Canvas Workspace using text tool |
The easiest solution is to use the ScanNCut Type Converter - a free program that you can download from the Brother website for converting OpenType and TrueType fonts to FCM cut files.
 |
| Brother ScanNCut Type Converter overview |
You can only type a single line of text into the converter and it all has to fit within the 30cm (12") width of the mat, so you may have to either save the letters individually or in small groups depending on the size of the font. My preference is to save as many letters as possible in one go and then resize them in Canvas Workspace afterwards.
You can clearly see the difference between using the text tool directly in Canvas and using the Type Converter before importing the file into Canvas.
 |
| Monogram Daishy Font in Canvas Workspace using Type Converter |
Bear in mind that some font designs are best suited for larger scales due to the intricacy of the design or areas with narrow lines and small apertures. Also some font designs might not translate well to a cut file, for example if the style is sketchy.
I am not familiar with Cricut Design Space or Silhouette Studio, but you can also create cut files from fonts by using a graphics program to convert the font to SVG format.
How to convert a font to an SVG in Affinity Designer


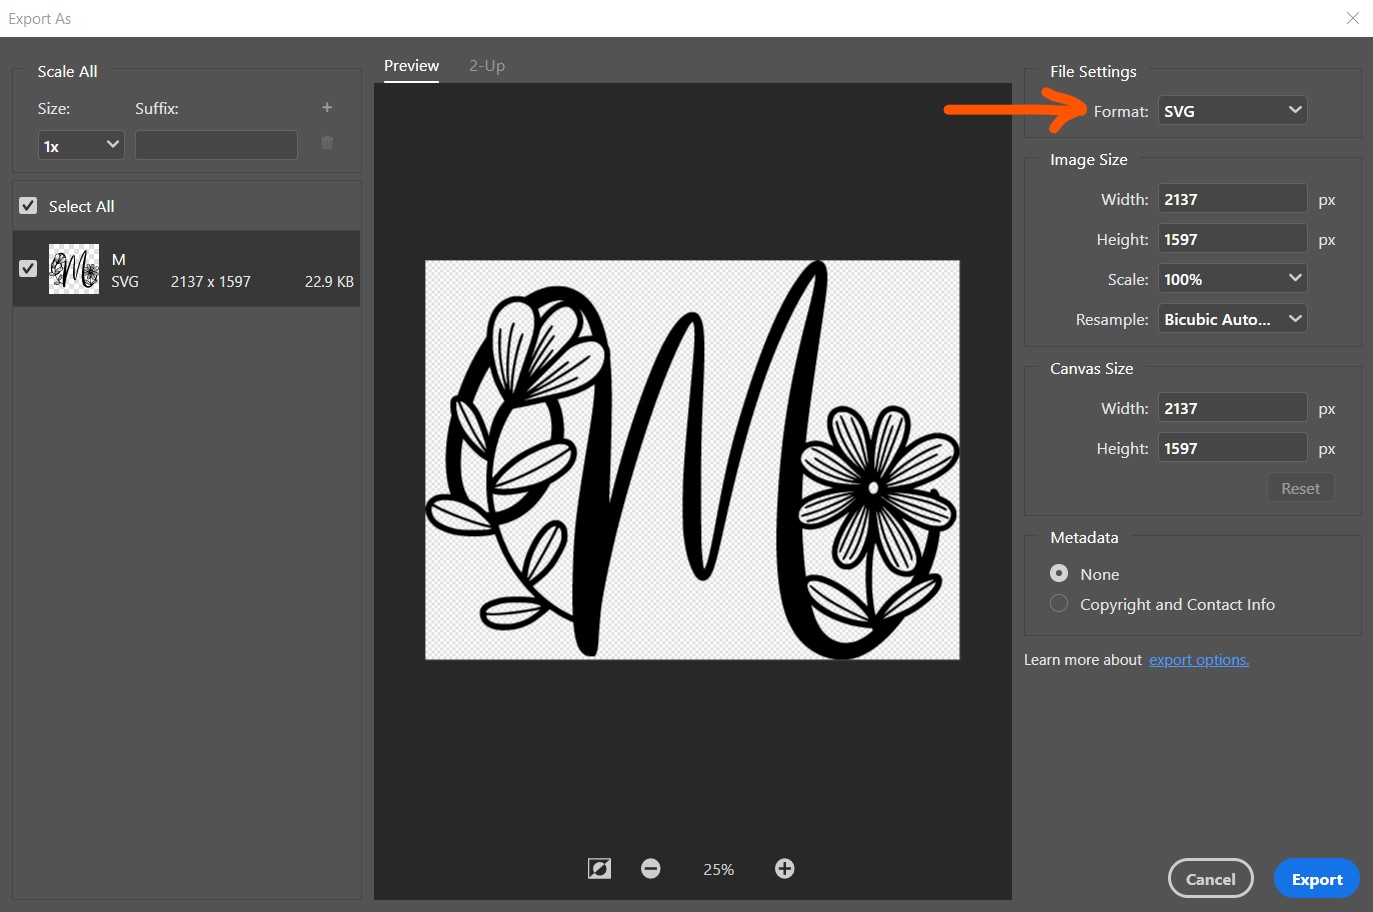
How to convert a font to an SVG in Photoshop


No comments:
Post a Comment
Hello! Thanks for reading and taking the time to comment. It iss always lovely to hear from you. ☺