14 October 2017
Sparkle ✨
03 May 2016
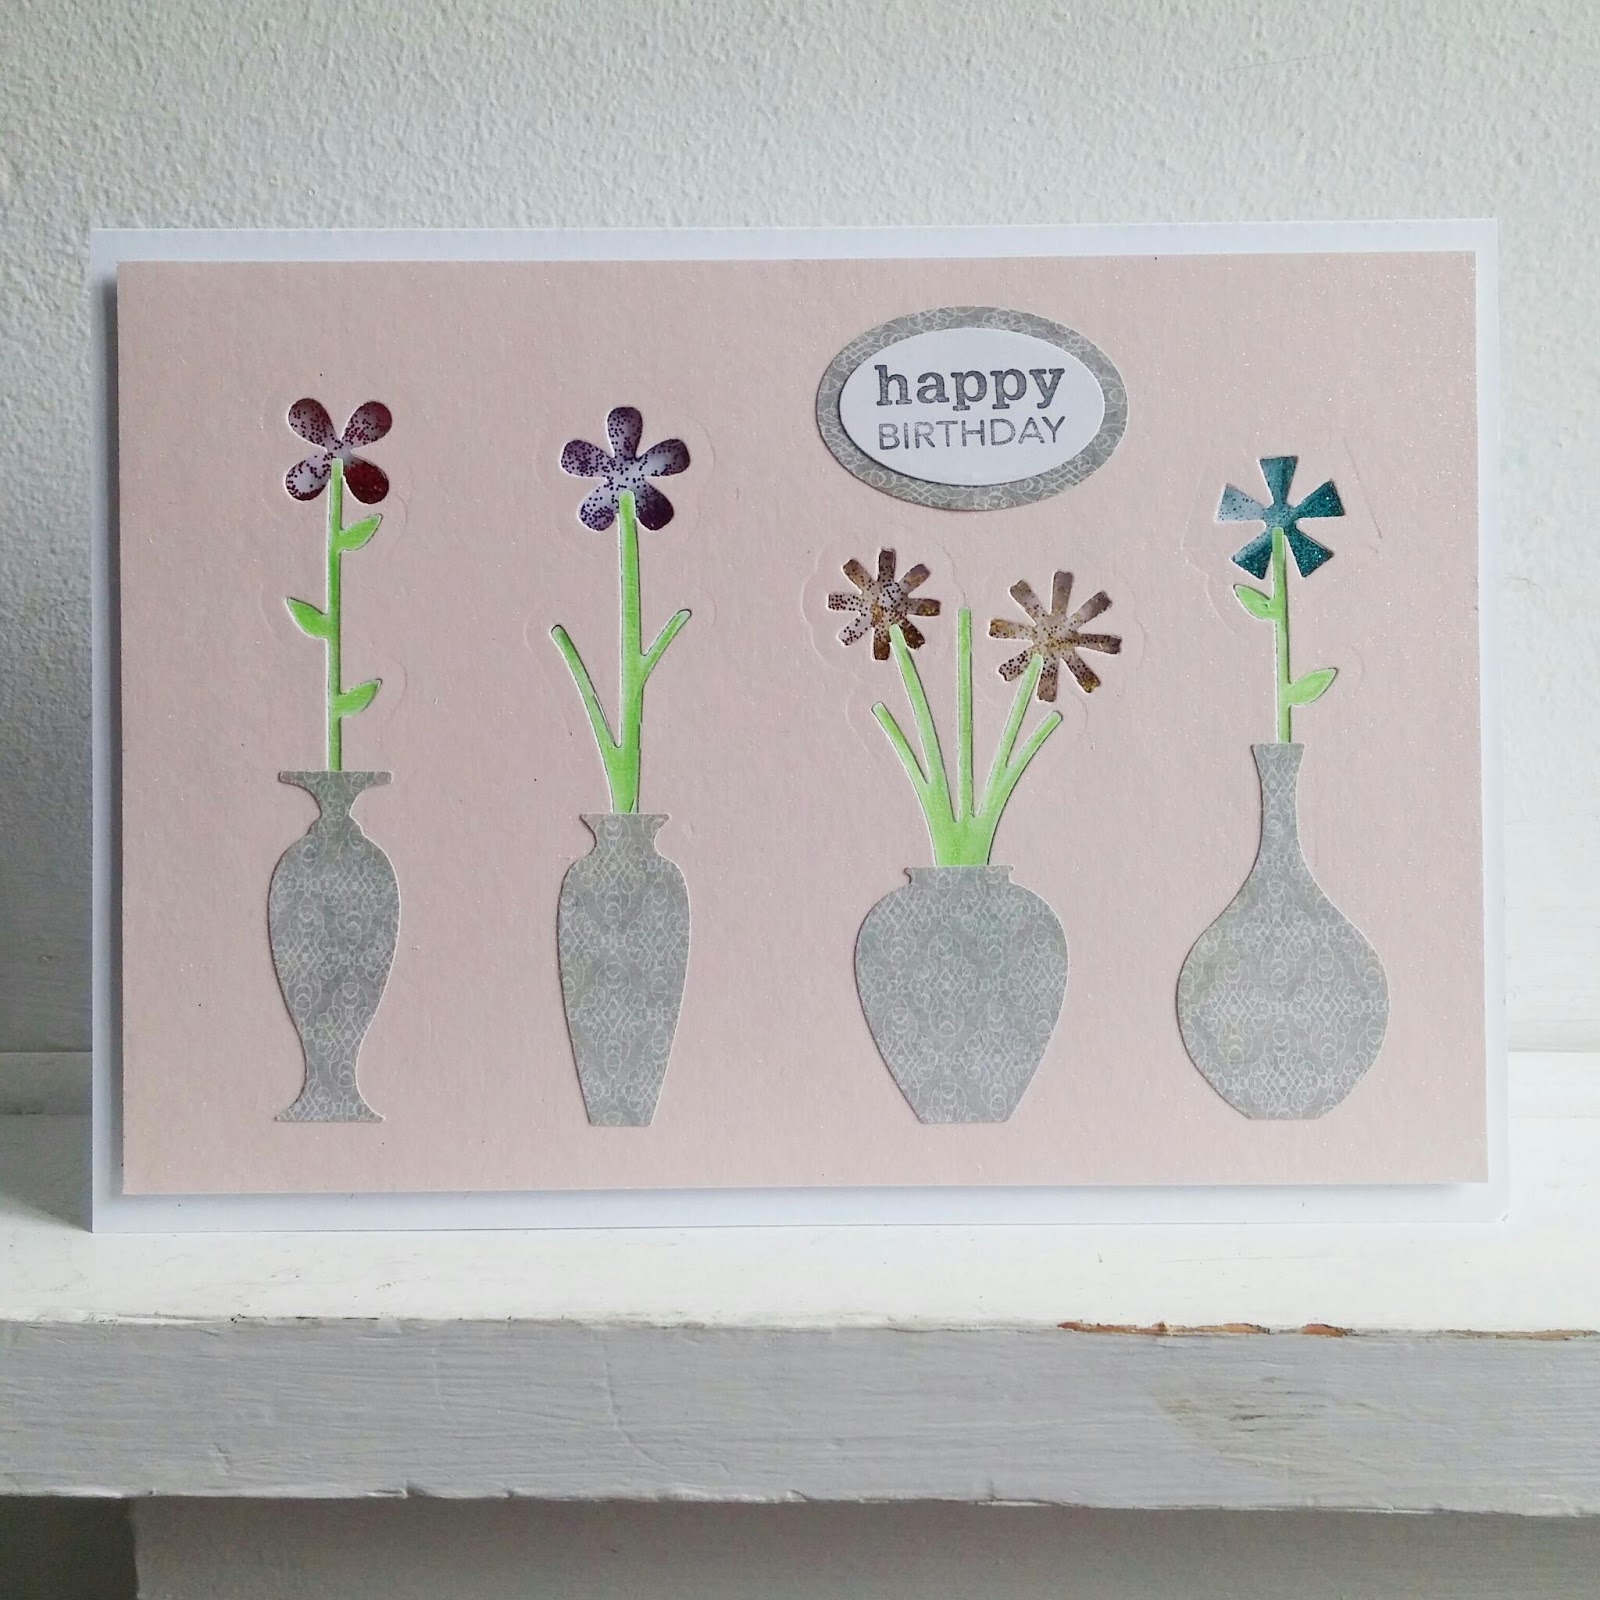
AAA Cards Game #63 - CAS Shaker

First I cut the stems into some lovely pale pink glitter paper that I recently acquired, then cut the flowers so that they lined up nicely with the stems. I also cut the stems from green paper and paper pieced those back into the pink card, taping them across the back to hold them in place. After making the shaker compartment around the flower heads I filled with different coloured glitters, which I did very messily! It's a good thing that you can't see the back of the card panel. TIP: rather than pouring directly from the glitter pot, use a tool to transfer the glitter. Then I cut the vases from grey patterned paper, stuck them in place and added a simple sentiment framed with the same grey paper to tie it all together. I decided to use the same colour for all the vases because I think that it's more in keeping with the CAS style. And here it is:
![]() |
| It's a shame the photos don't really show the glitter paper. It really is delicious. |
29 September 2015
Furry Friends
21 March 2015
Bare Naked CAS
Inspired by the challenge over on AAA Cards I have made three "bare naked" CAS cards. The first uses a stamp from the Hobby Art Owl collection - so sweet! He looked kind of pensive to me so I thought the "Thinking of You" sentiment was perfect.
The second is along the same lines but I changed the stamped image and also the orientation of the card. And of course roses and love are another perfect pairing. I'm also going to add this to the CAS-ology challenge.
And finally, I embossed 2 pieces of plain white card, stuck one on the front of the card, then cut out and inked a single butterfly from the other, stuck it over the top of a plain butterfly and folded the wings back. Finished of with a teeny sentiment from the Hot Off The Press dragonfly mini stamp set.
21 September 2014
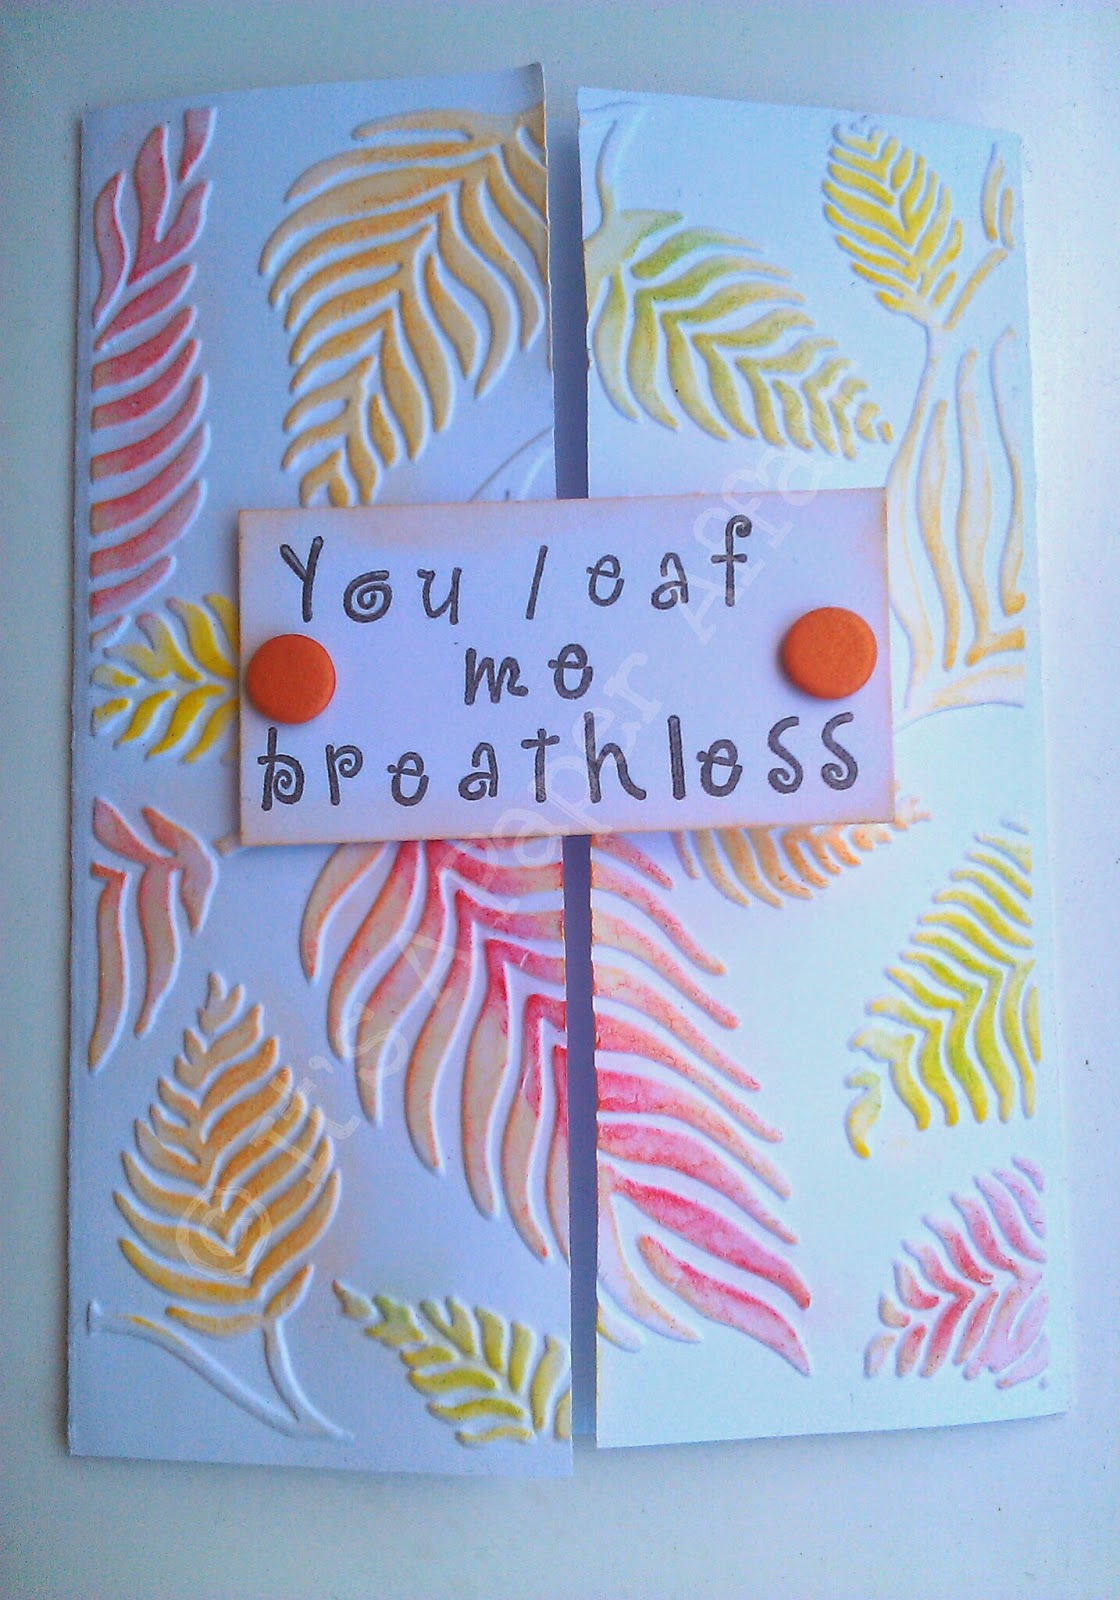
You Leaf Me Breathless
4 Crafty Chicks #212 - Fall
Cute Card Thursday 339 - Awesome Autumn
20 September 2014
Hummingbird
Now, when it comes to stamping and colouring, I'm as fresh as a daisy. One of the things that I noticed was how the mica powder "paint" partially obscures the black, stamped outline. If I was going to repeat this card, I think that I would try using an embossing powder, which would then act as a resist and keep the outline crisp and sharp.
I didn't read the challenge properly - I missed the part about "celebration", so I went back sand stamped "Happy Birthday" at the top. I actually prefer the original version. What about you?
13 September 2014
(Faux) Stitching and Sewing
I made this card for the 4 Crafty Chicks challenge #210. Although I missed the deadline I thought I'd show it anyway. The brief was Real/Faux Stitching.
A while ago, on a whim, I bought a very discounted We R Memory Keepers Sew Easy with several piercing attachments. I used the crisscross attachment along the left edge, but then I couldn't be bothered to actually sew it, so I did some faux stitching instead.
The dress form stamp was another impulse buy. I tried to shadow stamp the image in the background, then stamped a clear image on white card, which I cut out and layered right at the centre.
The sentiment came from a Tilly Daydream paper pack with a stitchy theme. I faux stitched around the edge then made tiny snips all the way around to give the effect of frayed material.
The card looked a little bare so I coloured part of the stamped image and stuck a matching organza ribbon flower on the side. In hindsight I probably should have matched the red from the sentiment instead of using pink.